
Last time I talked about how to go from a sheet of foam to something that starts to resemble wood. This time we will complete the process with a simple painting technique.
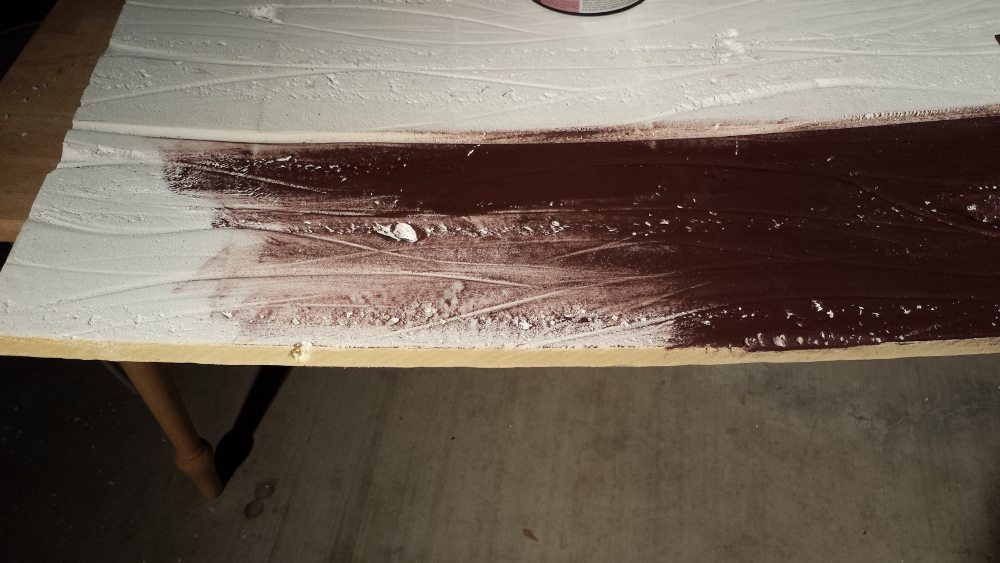
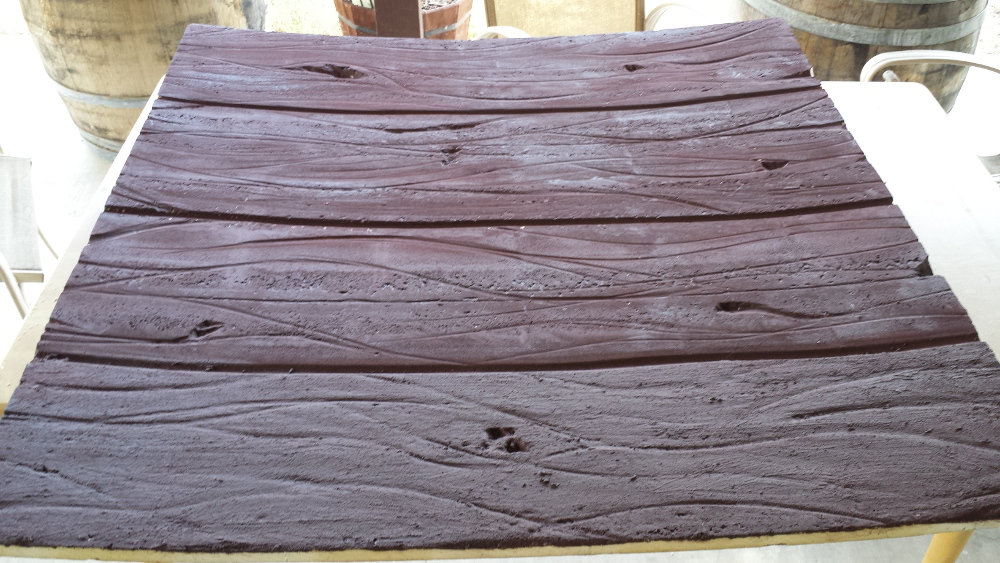
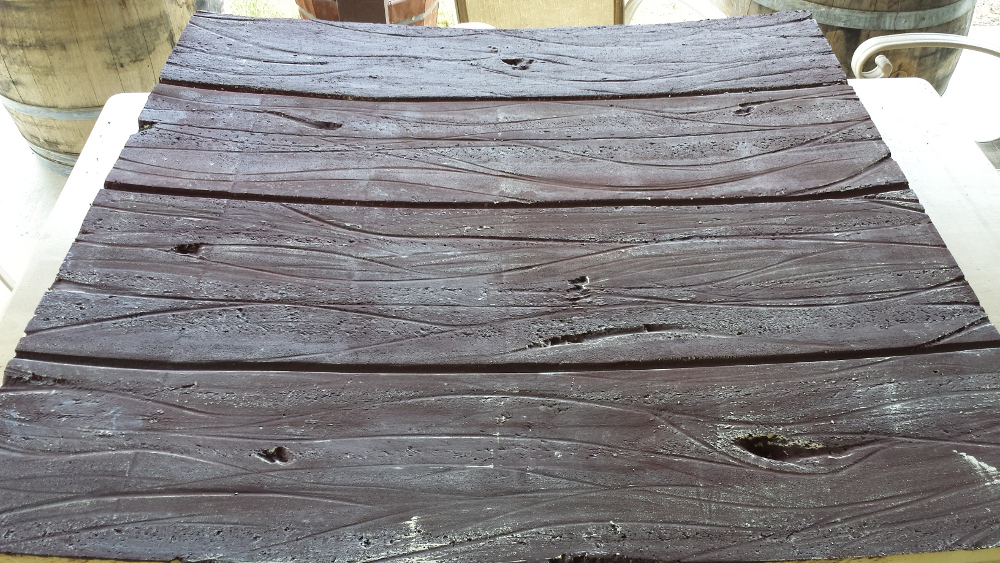
Here is the piece painted with the first coat.
Next you are going to want to take a second, lighter paint. I chose a light tan.
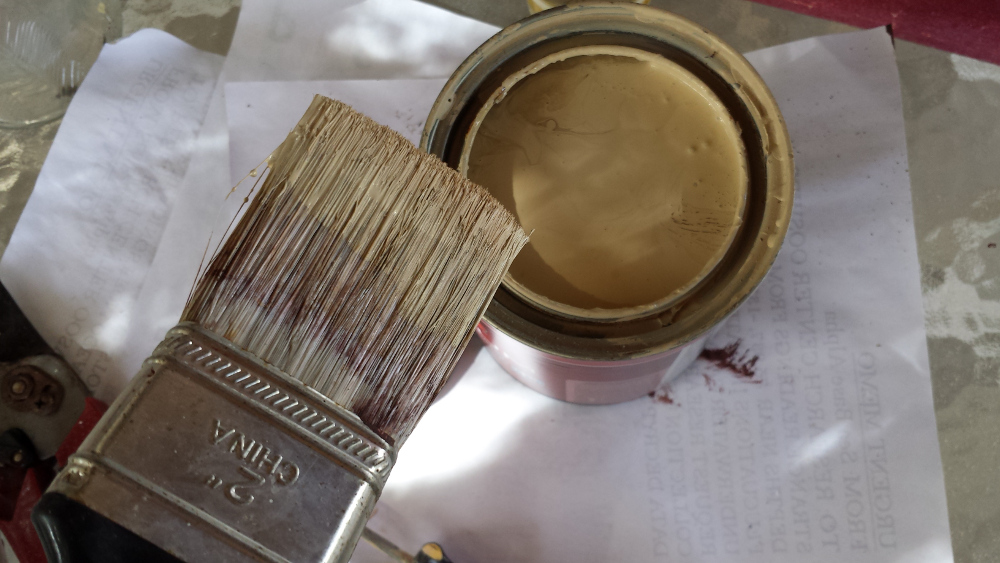
You’ll want to dip the brush in the paint and then wipe it all off. Well not ALL of it, but wipe most of it off. Then lightly drag the brush against the grain of you carved into your wood.
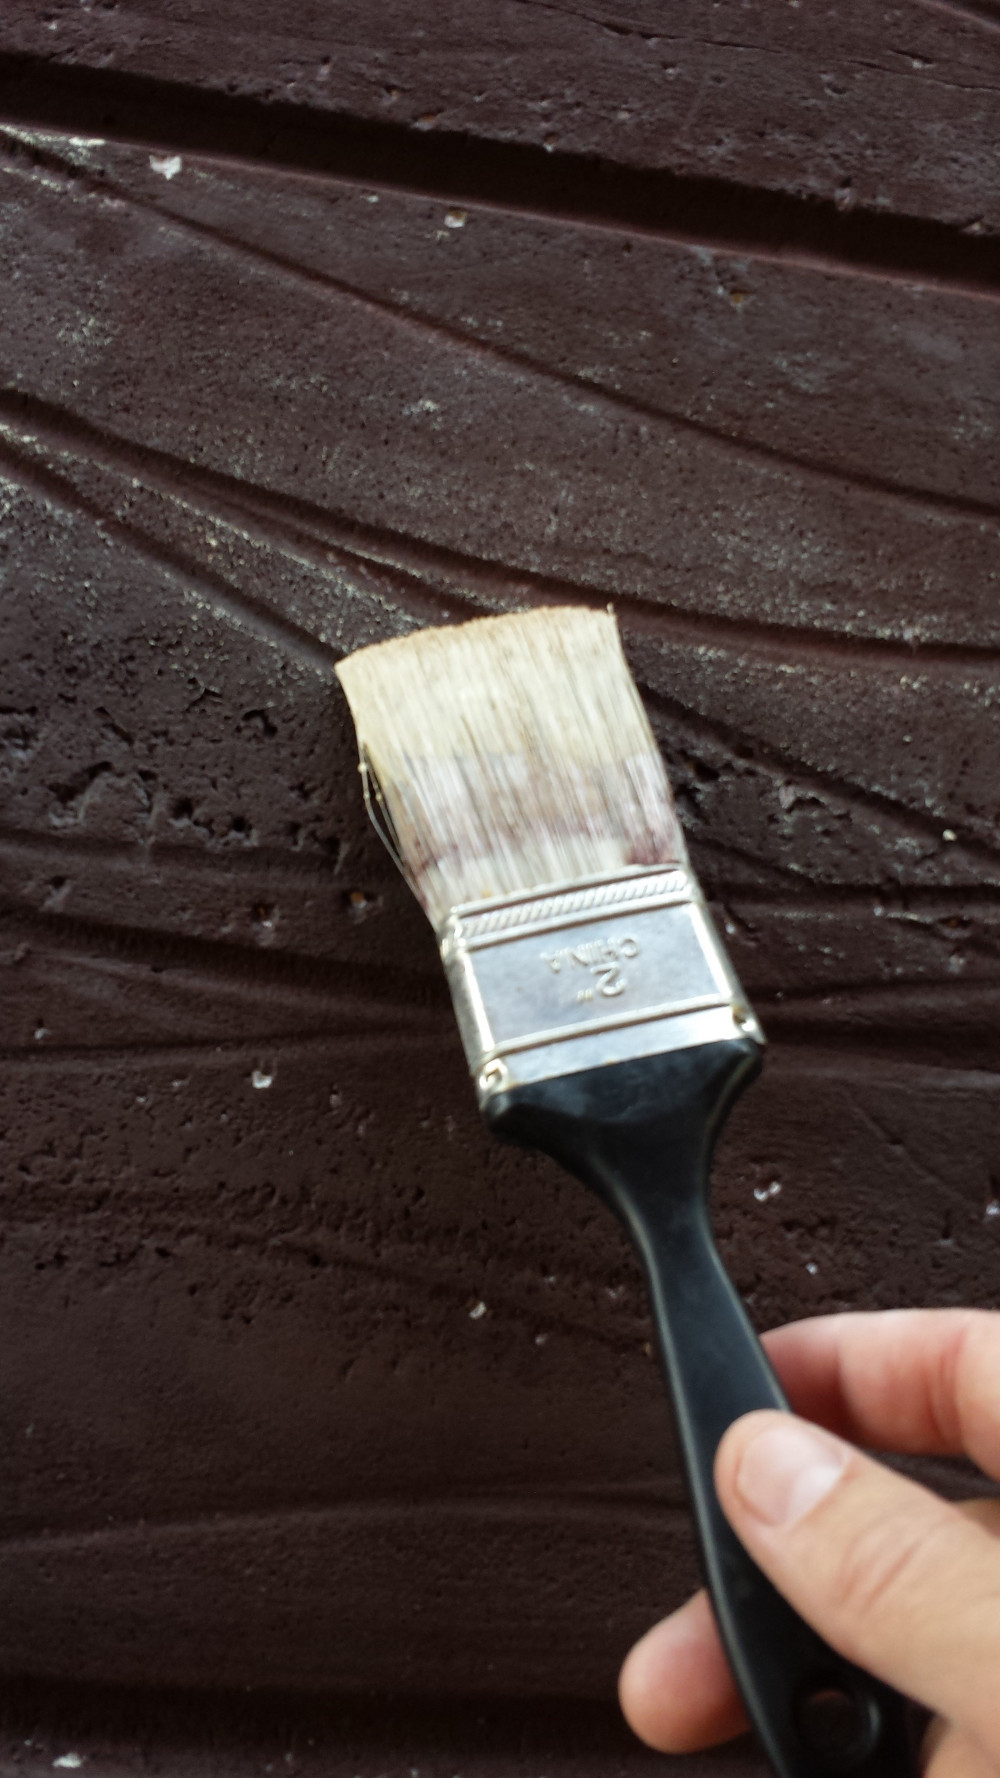
You can press a little harder on the deeper grooves, like the knot we dug out, or the line that is supposed to separate the planks of wood. Try not to always go in the same direction as you’ll end up with visible brush strokes. You’ll want to mix it up, go left to right, then right to left. At the end you can lightly pull the brush in the direction of the grain to try and blend together any place where it looks like brush strokes.
Here is the completed piece.
And there you have it. You can place plywood on the back of the panels to make them sturdy. You can also try painting some varnish or lacquer on the top to give it some added durability. I tried it with a glossy lacquer and it makes the wood look a little bit wet, which may or may not be right for your project.
Next we’ll look at some of the build itself and start to age some real wood for a different project.
Hope to see you at The Entrapment