
Today we will continue the peeling paint effect and see the end results.
To start we need to heat up the surface we painted. Be sure and let the paint dry first. You don’t have to wait days but I would wait at last 8 to 10 hours. It should NOT be sticky to the touch. You can use a hair dryer but I use a heat gun which is very handy for many different projects.
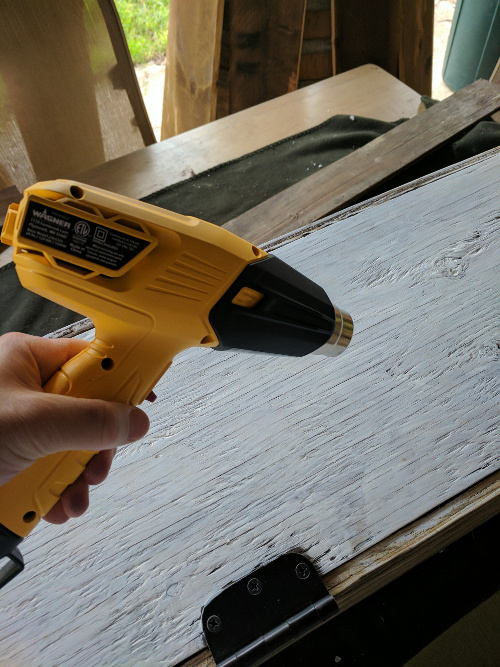
Remember the wax we spread on beneath the paint? Well this is where that comes into play. Heating the surface makes that wax become soft and will help make the peeling paint come off.
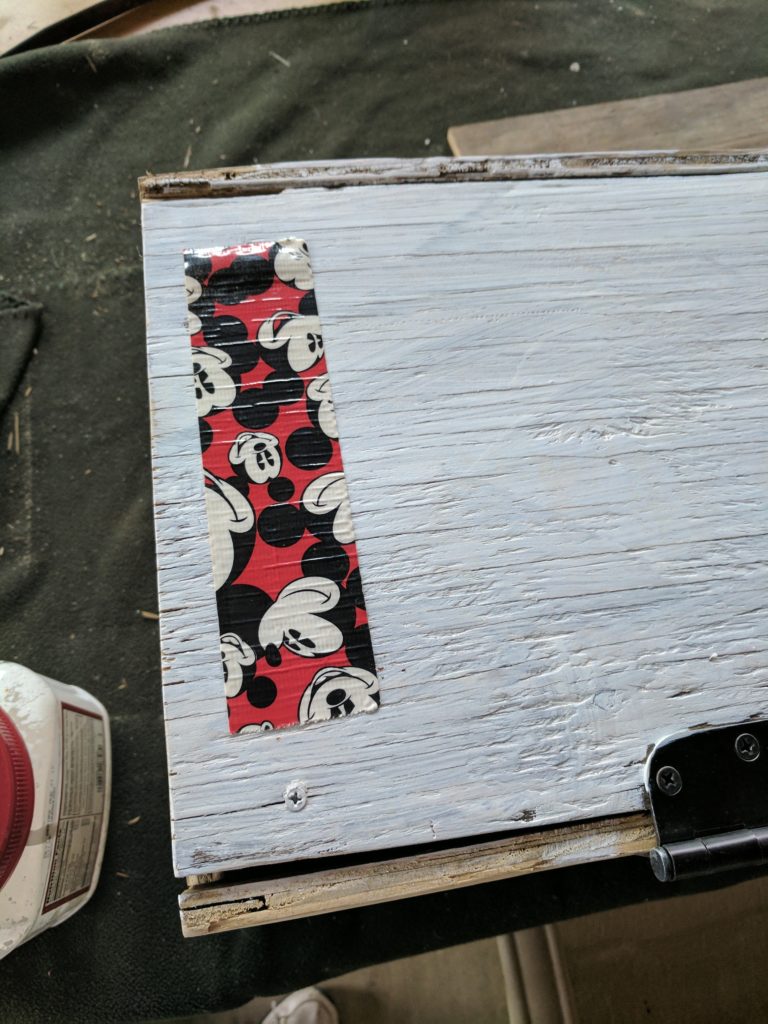
Next take a piece of tape, I use duct tape, and in this case I had some Mickey Mouse duct tape I got for Christmas. Anyway, take a small piece and press it down onto the area you just heated up.
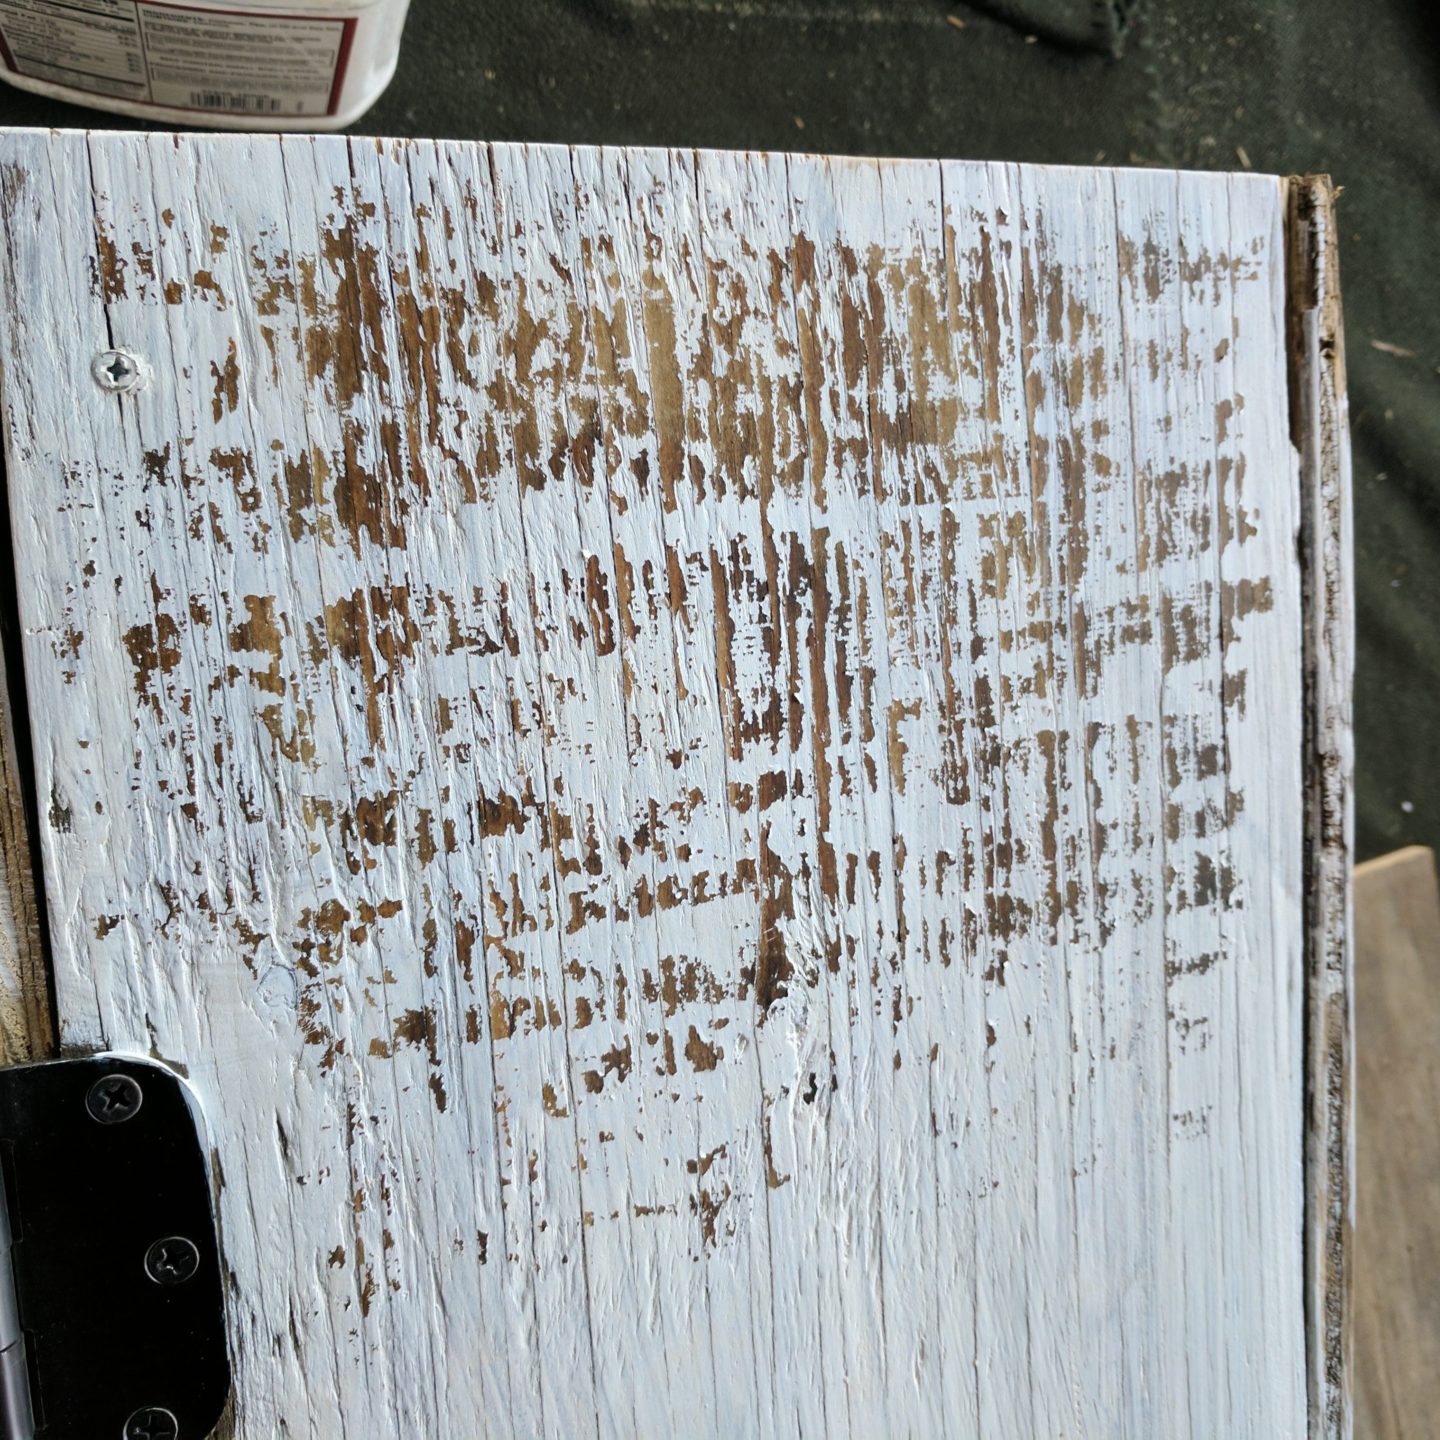
Now peel off the tape. I use a relatively quick pull off motion. I’m not sure how much it matters but i think if you do it too slow it doesn’t work quite as well. And you don’t want to do it too fast either. All the paint that was on top of the now soft wax should come right off.
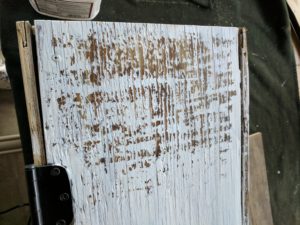
Continue this heating and taping over all the surfaces you want to peel paint from. Here is the completed box.
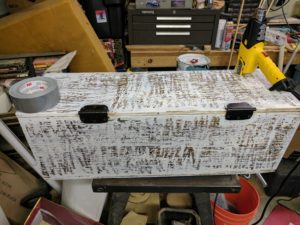
This is a surprisingly easy effect to accomplish and it looks great.
Hope you are enjoying watching as I do various projects that are going into my new escape room at The Entrapment. Watch for more projects coming soon, like how to do a rusted out metal effect.